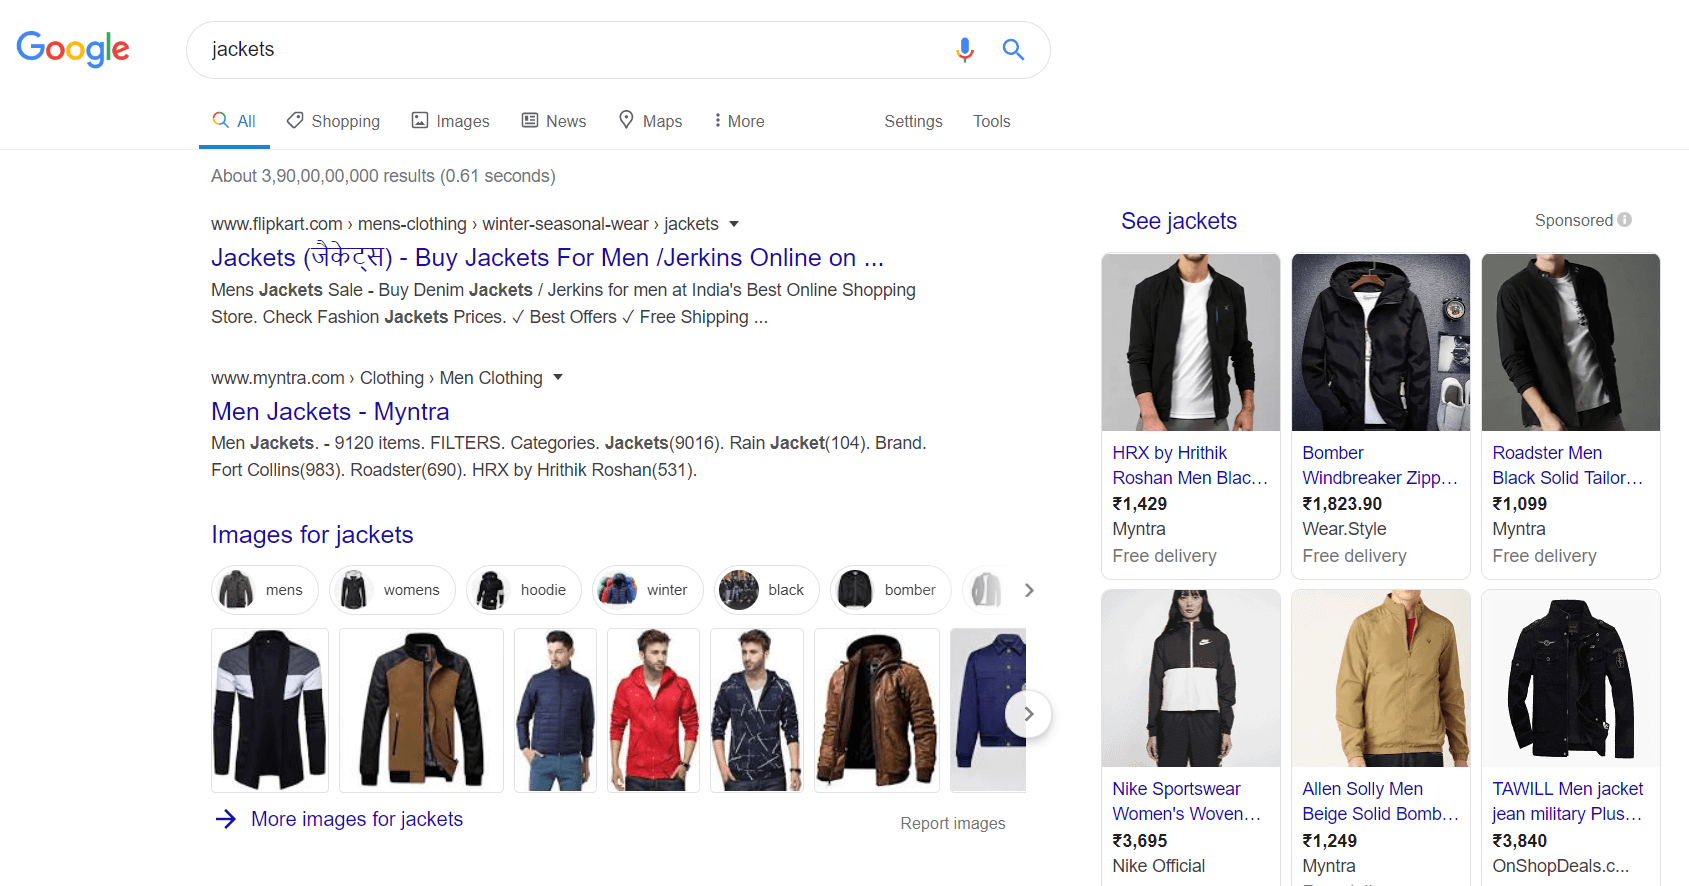
Google offers a different ad type triggered by a search called a product listing ad (PLA). They are triggered by terms searched for by users at the bottom of the funnel and are ready to buy. Users are searching for keywords specifying a particular product. For this reason, PLA ads are more similar to product listings than ads, hence their name.
Each of these ads consists of the product image, title, brand name and the price. There’s no need for a description or sales pitch as the person searching knows exactly what they want. These users are interested in knowing if it is what they’re looking for, who they’re buying from, and how much they have to spend on it.
Google only serves shopping campaigns to certain countries so you should confirm that your country is listed before you start. You’ll also need a Google Merchant Account linked to your Ads account.
Merchant Center
Before you can display shopping ads, you first need to create your Google Merchant Center Account, verify it, link it to your Ads account, and then upload your product feed. After you’ve created your Merchant Center account, you can verify it by clicking on business information inside the Merchant Center and then your website.
On this site, you’ll find various options to complete the verification. The recommended method is to download a file that you can upload to the root folder of your website. When you prove to Google that you have the ability to upload files to your website, you also indicate that you have the required authority to link a shopping account to it.
Setting Up Your Data Feed
After the verification of your account, you can now begin uploading products to your Google Merchant Center. You will need to upload your products in a “data-feed”, which is essentially a table that contains product information in a Google read-able format as Google Merchant Center doesn’t give you an interface to add products individually.
Simply click on the plus button when you log into Merchant Center to create a new data feed. In order to create a new feed, you are required to fill out the requested information, such as the language and location you are selling to. You will be asked to choose one of three methods for adding your data feed; Google Sheets, a scheduled “fetch” of a file off of your web server, or manually uploading a CSV file from your computer.
Since it only involves updating your table of contents, Google sheets are the simplest input method. Google allows you to set a schedule in the merchant center to check your sheet in order to update in the data feed. Each product will be entered on its own row in a table.
Google sheets provide a template with the right column headers for the table so that Merchant Center can read your feed properly. The columns in green are required. We will review some of them together, highlighting relevant requirements. A good practice to get yourself familiar with is to familiarize yourself with all of Google’s requirements before creating your data feed.
Highlighted Requirements
- Each product will have its product “ID” as its header. This is essential to protect the uniqueness of each product. Try using the product’s SKU number as much as possible.
- For the column header, your product will use the “Title”; this is just the name of the product. Your product’s landing page and site title should match.
- Your product’s description will use “Description” as the column header. This data will need to match the description from the landing page and cannot include any primatial data such as “Free Shipping.”
- Ensure that the image you use in your ad is accessible via a URL. The availability of your product should be either one of the three values mentioned under a column called “Availability.” “In Stock,” “Out of Stock” and “Preorder” are the three supported values.
- Under the column titled “Price,” put in the amount. This needs to be the same as the price of the product on the landing page.
- Google matches the search queries to your ad with the selected product category. The categories that are pre-set by Google. To help you understand the differences between each and also choose the most relevant category go through Google’s Product Taxonomy page. Then enter the best fit in the “Category” row.
Each country may have special fields you may need to complete. Read this link to know more about each of these specific fields.
Linking Merchant Center to Google Ads
Once you’ve set-up your Merchant Center, you will now need to link this to your Google Ads account via the following steps:
- Log into your Merchant Center.
- Click on the settings dots in the upper right corner.
- Select account linking from the drop-down menu.
Once the above has been followed through, you can either create a new Google Ads account or link your existing one.
Launching Your Shopping Campaign
Once your accounts and data feed are set up, it’s just a few more steps to your shopping campaign being launched. A new campaign can be created in Google Ads as well as from within the Merchant Center. Once you’ve done this, let’s go through the steps required for creating your shopping campaign from inside Google Ads.
Now that you’ve set up your Merchant Center account and linked it to Google Ads, the exciting moment has arrived; you can launch your shopping campaign.
- Create a new campaign by clicking on the link and select Shopping. Based on the goal for your campaign, Google preselects a certain set of options. Until you fully understand how to use ads and its goals, we suggest you select the option “Create a campaign without a Goal.”
- Choose the Merchant Center account containing your product data feed for this campaign and your target country.
Google will give you two setting options to choose from:” Standard Settings” and “Goal Optimized” settings. Select “Standard Settings”’ and continue.
Goal Optimized Settings allow you to take control of your campaign’s bidding and targeting. If you select the goal optimized campaign, it will use automatic targeting to show your shopping ads on the display network.However, you would only be eligible for this option if you managed to obtain a significant amount of conversion sales data in your account directly related to the products you’re selling.
Additionally, you’ll need a special tag, called the global site tag, on every page of your site as well as a certain number of users added to a remarketing list.
- After clicking “Standard Settings”, you are taken to the campaign creation page. You will see some of the same settings as the Google search campaign.
- Choose the appropriate settings, click save, and continue. You will be taken to the page to create your ad group.
- You’ll be given two different ad group types to choose from on the Ad group creation page, namely: “Product Shopping” or “Showcase Shopping.” A fairly new format, “Showcase shopping” lets you showcase multiple products inside a display ad.
Once you set up your product group, you will actually create one ad group with all items in your inventory listed under one group. You will be able to set only one bid for all items in present in a single ad group. If you feel that different products require diverse bids based on their value per click, you will need to divide your products into various product groups.